
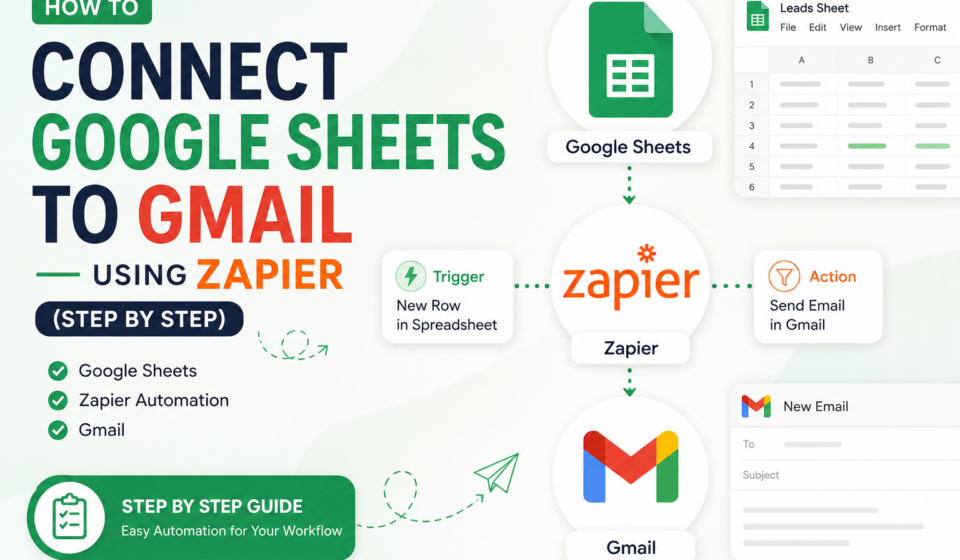

If you’ve ever manually copied data from a spreadsheet into an email — or sent the same follow-up message one row at a time — this tutorial will save you hours every week. We’re going to connect Google Sheets to Gmail using Zapier, so that every time a new row is added to your sheet, an email gets sent automatically.
This is one of the most common automations freelancers and small businesses build first, because it solves a real, everyday problem: manual data entry leading to manual emails.
What You’ll Need
- A free Zapier account (zapier.com)
- A Google account (Sheets + Gmail)
- 10 minutes
No coding required. This entire workflow is point-and-click.
Step 1: Set Up Your Google Sheet
Before touching Zapier, get your sheet ready. Zapier reads your sheet row by row, so structure matters.
Create a sheet with clear column headers in row 1 — something like:
| Name | Message | |
|---|---|---|
| Ali Khan | ali@email.com | Thank you for signing up |
Zapier will use these column headers later to pull data into your email template. Keep header names short and consistent — avoid spaces where possible (use “Email” not “Email Address “).
Step 2: Create a New Zap
- Log into Zapier and click “Create Zap”
- In the Trigger step, search for Google Sheets
- Choose the trigger event: “New Spreadsheet Row”
- Connect your Google account (Zapier will ask for permission — this is normal and safe, it only accesses sheets you authorize)
- Select the specific spreadsheet and worksheet tab you created in Step 1
Click Test Trigger. Zapier will pull in a sample row from your sheet so you can confirm it’s reading the right data.
Step 3: Add the Gmail Action
- Click the + button to add an action step
- Search for Gmail
- Choose the action event: “Send Email”
- Connect your Gmail account (same permission-style prompt as before)
Now you’ll build the actual email:
- To: Click the field and select the “Email” column from your sheet (it’ll appear as a dynamic field, not typed text)
- Subject: Write your subject line — you can mix static text with dynamic fields, e.g. “Thanks for signing up, [Name]!”
- Body: Same idea — write your message and insert the “Name” or “Message” column wherever you want personalization
This is the part people find magical the first time: every email sent will automatically pull in that row’s specific data.
Step 4: Test Before You Go Live
Click Test Action. Zapier will actually send a real email using your sample row, so use a real inbox you can check (like your own email) as the test recipient if you’re worried about sending something incomplete to a real contact.
Check your inbox. If the name, email, and message all inserted correctly — you’re done with testing.
Step 5: Turn the Zap On
Flip the toggle from Off to On. From now on, any new row added to your sheet will trigger an automatic email within a minute or two.
Common Mistakes to Avoid
- Adding rows in the middle of the sheet instead of at the bottom — Zapier’s “New Row” trigger watches for rows added at the end. Inserting rows elsewhere may not trigger correctly.
- Leaving the Email column blank — this will cause the Zap to fail silently for that row. Always require that field in your data entry process.
- Not testing with a throwaway email first — always verify formatting before this runs on real contacts.
Where This Gets More Powerful
Once you’re comfortable with this basic setup, you can extend it:
- Add a filter step so emails only send if a certain column says “Approved”
- Chain multiple actions — for example, also add the contact to a Mailchimp list at the same time
- Swap Gmail for Zapier’s built-in email service if you’re sending high volumes and don’t want it tied to your personal Gmail sending limits
Final Thoughts
This is a small workflow, but it’s the exact kind of automation that shows up constantly in freelance and small-business operations — onboarding emails, order confirmations, notification systems. Once you build one Zap like this, the pattern (trigger → action → test → activate) applies to almost every automation you’ll ever build.